01. RICOH THETA API Camera Connection

Sending an API command to the camera
This tutorial is the first in a series aimed at helping developers learn how to work with the RICOH THETA X camera. It focuses on using the API to build a mobile app. The examples provided use Flutter to build mobile apps. Source code is downloadable.
Main Resources
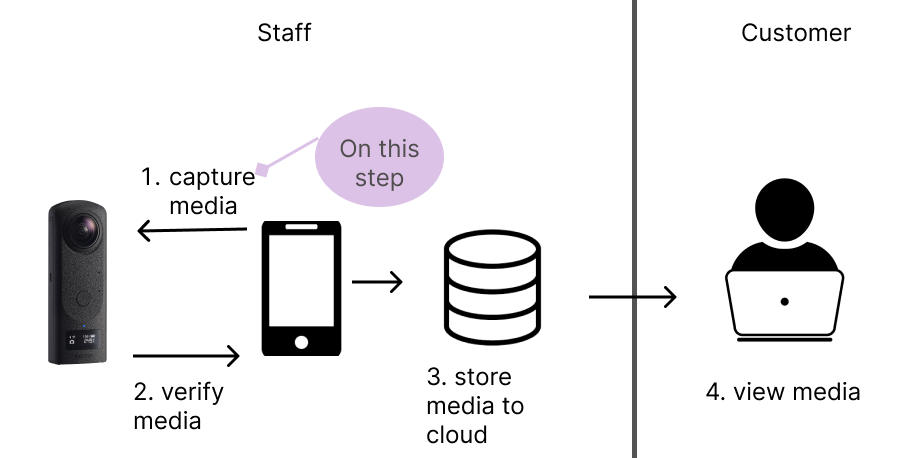
Main steps in Sending an API command to the camera
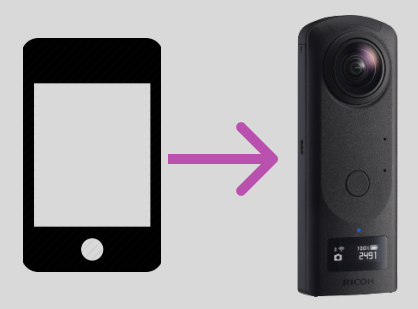
- The camera works as a hotspot, you connect to it via Wi-Fi. Example:

- The camera password is the numerical digits only of the camera SSID. Example: Full SSID is YR14010005, so password is 14010005
- You must use http, not https. You may need to adjust mobile app network security settings
- Must connect to 192.168.1.1 and the end point cannot be changed
- You use HTTP GET, HTTP POST, and HTTP POST with body commands. The body must be encoded as JSON
- You must send a header. The header in this tutorial is used as a Dart map with the http package. This tutorial only covers access point mode, not client mode
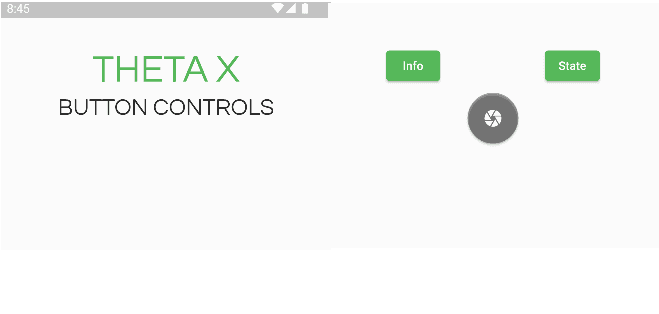
THETA X Button Controls using HTTP

This application does not use state management, but uses the http package from Dart to connect to a RICOH THETA X camera. Using the http commands, such as GET and POST, the application receives information and executes commands. Below is a list of this project's button controls using the THETA WebAPI.
Button Controls
http Package
In order to use the http package, I first needed to download it and import it at the top of my file. All HTTP requests require a url. For example, this is the url for getting the info from the camera.
var url = Uri.parse('http://192.168.1.1/osc/info');
Next, I created a header using a key-value pair.
var header = {
    'Content-Type': 'application/json;charset=utf-8'}
Finally, the http method is sent out and assigned to a variable called response.
var response = await http.get(url, headers: header);
At the moment, this application does not display any response to the screen, instead, the output is printed out to the console.

Take Picture 📷
The command for taking a picture differs slightly from the info and state buttons as we need to run jsonEncode on the request body that is sent to the camera. The url for taking the picture uses /osc/commands/execute as shown below.
var url = Uri.parse('http://192.168.1.1/osc/commands/execute');
I created a map called bodyMap that stores the key-value pair from the camera. Next, I had to encode the map into Json, so I could pass it into the request body.
var bodyMap = {'name': 'camera.takePicture'};
var bodyJson = jsonEncode(bodyMap);
The response requires the url, but I also passed in the bodyJson.
var response = await http.post(url, headers: header, body: bodyJson);
As the response assignment runs a POST request, the application sends out information and takes a picture.
JSON Decode
To access certain properties in the state of the camera, the response from the camera needs to be decoded. After the response is decoded, a specific property, such as batteryLevel, can be accessed as a map. In the future, I can use this batteryLevel to update the state of the application.
var thetaState = jsonDecode(response.body);
var batteryLevel = thetaState['state']['batteryLevel'];