04. RICOH THETA API Screen and Settings Organization

RICOH THETA camera models V, Z1, and X have three modes for capture:
- image
- video
- live streaming
This tutorial covers image and video modes only.
When the application changes or gets a setting that is specific to video, the camera must first be changed into video mode. If you attempt to change a setting such as the video file format when the camera is in image mode, the command will fail.
For example, with the fileFormat option, if you set the parameters to image, but have set captureMode to video, your app will not function properly.
Your application should be able to switch between the image and video modes for the best user experience.
This sample app shows how to set up different screens for image and video settings. It sets capture mode to video.
The next application will show how to detect the capture mode when the application first starts.

There are many options for camera settings. One strategy to organize the UI for a large number of configuration options is to use multiple Blocs in a RICOH THETA application. The settings are grouped together on different screens. One Bloc is attached to each screen.
Main Resources
Organizing Camera Settings Based on Capture Mode
As the settings for video and image mode are different, the application groups the settings into separate screen. Each screen has it's own BLoC, which consists of separate state, event, and "business logic" per screen.
The settings for "image capture" mode and "video capture" mode are clearly divided, which helps reduce the possibility of your app accidentally trying to set an image setting from a video setting GUI component.
return MultiBlocProvider(
      providers: [
          BlocProvider<ImageSettingsBloc>(
            create: (context) => ImageSettingsBloc()),
        BlocProvider<CameraUseBloc>(create: (context) => CameraUseBloc()),
        BlocProvider<VideoSettingsBloc>(
            create: (context) => VideoSettingsBloc())
      ],
      child: MaterialApp())
In our sample application, each screen has its own Bloc to make the State more manageable. In the main.dart file, I used the MultiBlocProvider instead of the BlocProvider to list out all the Blocs. This enables me to use multiple Blocs throughout the application.
return BlocBuilder<VideoSettingsBloc, VideoSettingsState>(
      builder: (context, state) {
        return Scaffold(),
        })

For example, in the Video Settings Screen, the Scaffold is wrapped with a BlocBuilder that uses the VideoSettingsBloc. Each screen has its own specific Bloc.
With the use of Bloc, it's fairly straightforward to create multiple buttons on a screen.

Switch Button GUI Based on Camera State with Ternary Operator
To switch the recording button into a square, the app uses a ternary operator from Dart. The ternary operator first checks if isRecording is false and sets the button to a circular button. Else, when isRecording is true, the button is set to a square button.

!state.isRecording
                ? IconButton(
                    //circular shape
                    onPressed: () {
                      context.read<CameraUseBloc>().add(StartCaptureEvent());
                    },
                    iconSize: 200,
                    )
                : IconButton(
                    //square shape
                    onPressed: () {
                      context.read<CameraUseBloc>().add(StopCaptureEvent());
                    },)

In the CameraUseBloc, I set the variable isRecording to true when StartCaptureEvent is called and false when StopCaptureEvent is called. By changing the state of isRecording, the button will change its shape.
Chopper
Chopper is a Flutter package that generates http requests and helps organize the code.
How to Use
- Download Chopper package and create a new file (ex:
theta_service.dart) - Import the Chopper package into this file and use the
@ChopperApiannotation above the class declaration. The@ChopperApihas the parameterbaseUrlwhich is the url for the THETA camera.
@ChopperApi(baseUrl: 'http://192.168.1.1/osc')
abstract class ThetaService extends ChopperService {}
- Use the
@Postrequest and pass in thepathandheaders. Thepathandheadersare from the THETA API. Also, define the methodcommand. This method will be used to pass in the name of the camera commands.
  @Post(
      path: '/commands/execute',
      headers: {'Content-Type': 'application/json;charset=utf-8'})
  Future<Response> command(@Body() Map<String, dynamic> body);
- Lastly, run
flutter pub run build_runner build.
Inside of a Bloc file, we have to define chopper and create the ChopperClient.
var chopper = ChopperClient(
        services: [ThetaService.create()], converter: const JsonConverter());
    final thetaService = chopper.getService<ThetaService>();
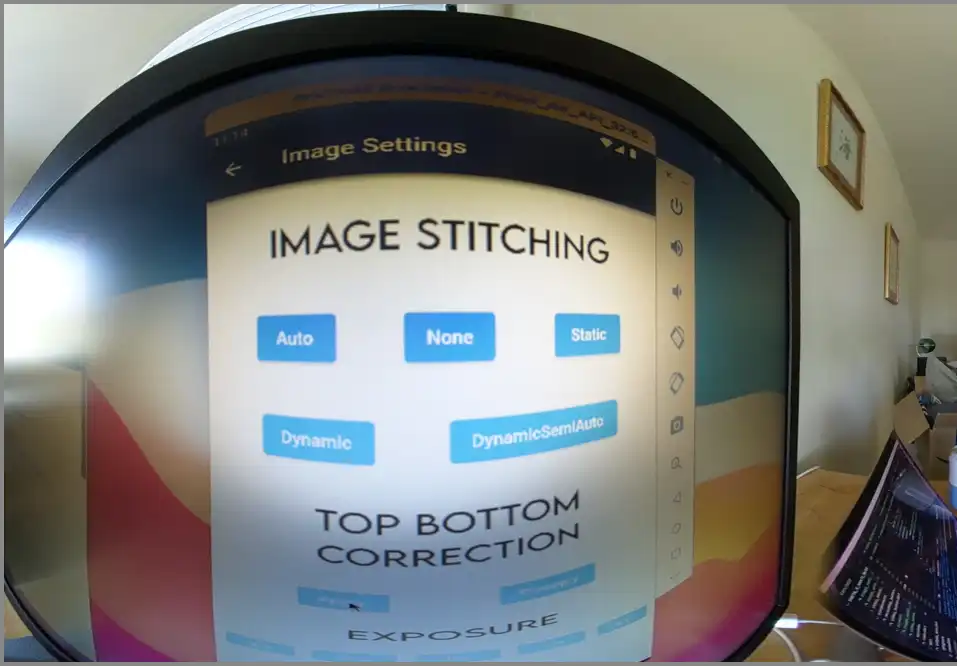
Now, we are ready to use Chopper inside of the Bloc! Here is an example of using Chopper to run a command for image stitching. The code inside of the Bloc is condensed using Chopper. All we have to run is the command method which cuts down on the repetition. Chopper runs the POST request for us.
 on<ImageStitchingAutoEvent>((event, emit) async {
      var response = await thetaService.command({
        'name': 'camera.setOptions',
        'parameters': {
          'options': {'_imageStitching': 'auto'}
        }
      });
      emit(ImageSettingsState(response: response.body));
    });
